WhatsApp
 jessica.chai@ltzzc.com
 0086-379-69950051

How to Prevent Dust Damage on a Ship Loader Slewing Bearing
A bearing that wears out early on a coal, ore, or grain terminal is rarely just "worn". The question maintenance teams need answered is this: did the bearing fail from load and age, or did abrasive dust get inside and grind it down? The answer decides whether a replacement will last or fail on the same schedule. For any Ship Loader Slewing Bearing, the difference shows up in seals, grease, and raceway marks long before the rotation gets rough.
This guide gives you a diagnosis order, the inspection signs that separate contamination from normal wear, and the prevention steps that fit bulk-handling conditions. It also covers the limits of each fix, because no single seal or grease solves every site.
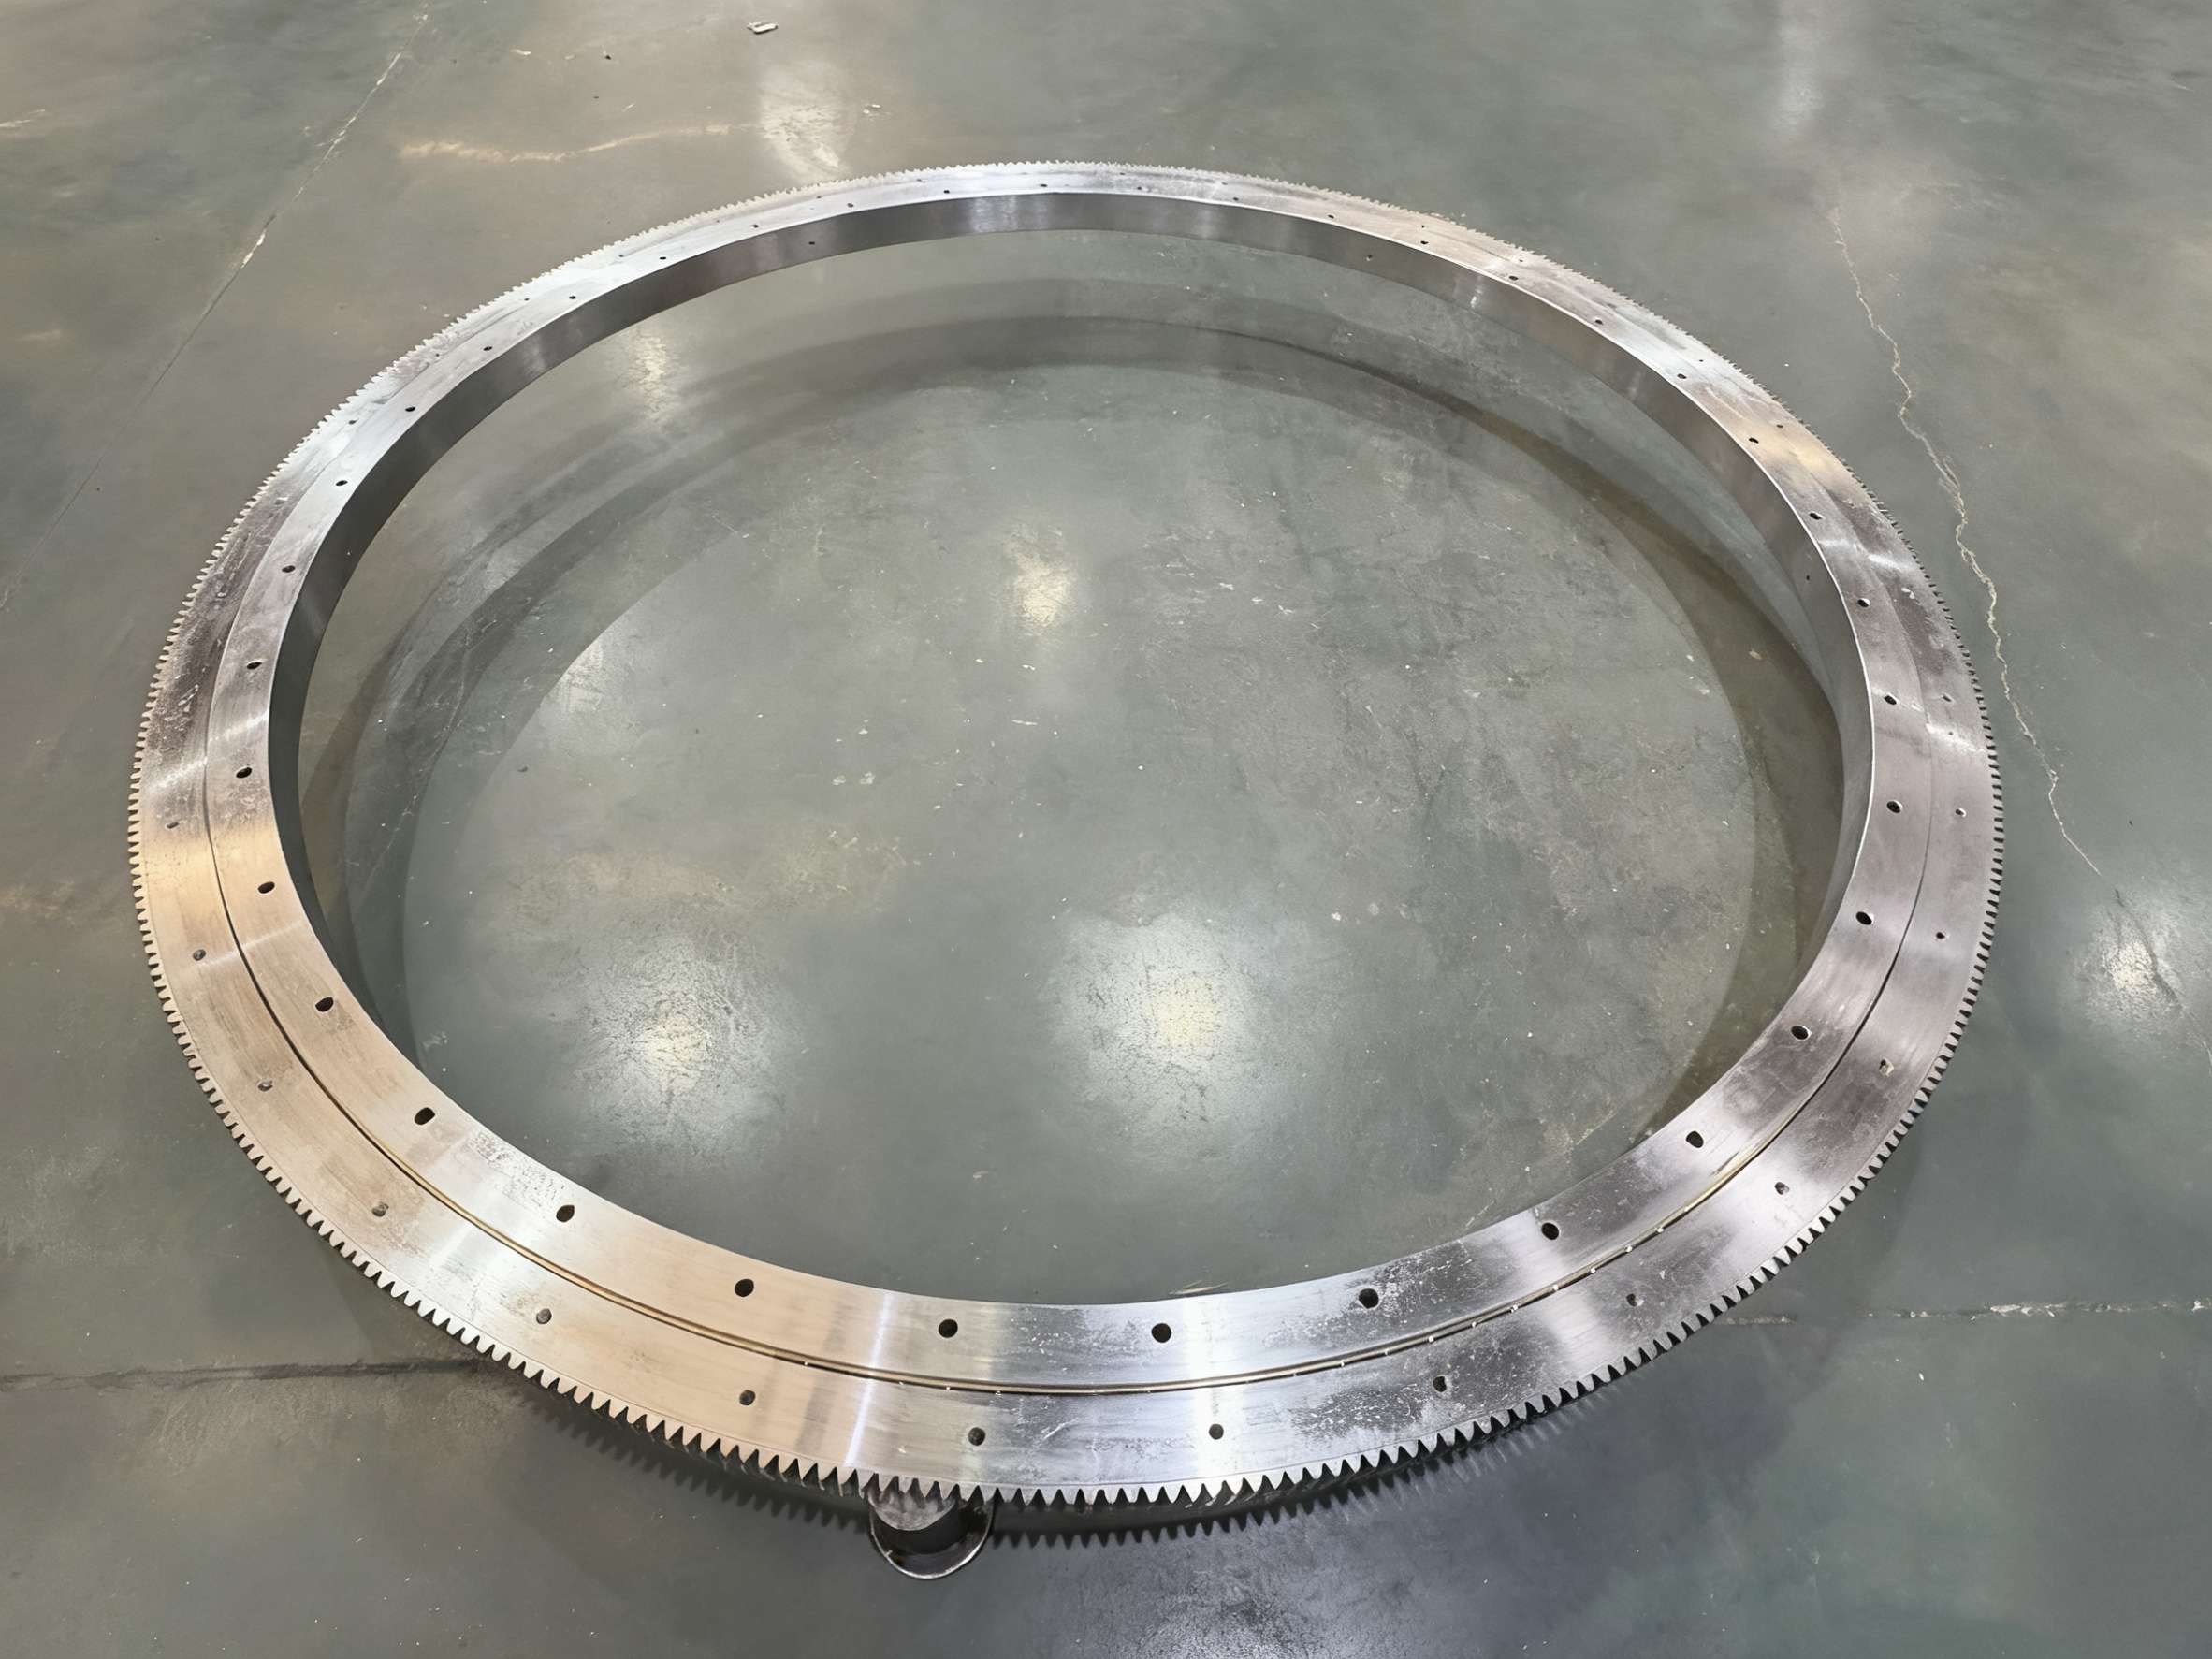
Why Dust Damage Keeps Coming Back at Bulk Terminals
Bulk cargo produces fine particles every time it is dropped, conveyed, or trimmed. Coal dust, iron ore fines, bauxite, and grain dust all settle on the slewing ring area. Many of these particles are harder than the bearing steel's surface layer, so they cut rather than just soil.
Three conditions make repeat failures common:
- The seal is treated as a consumable nobody tracks. It hardens, flattens, or tears, and the bearing keeps turning, so nobody notices.
- Greasing is done to a calendar, not to a condition. Pumping grease through a dirty nozzle can push dust straight into the raceway.
- Washdown and wind carry dust to the seal lips. The loader sits outdoors, tilts, and slews through the dustiest zone of the berth.
Fixing only the bearing, while the seal and lubrication habits stay unchanged, simply resets the clock.
How Abrasive Dust Enters Through Seals and Lubricant Paths
Dust does not need a large opening. It needs a gap, a pressure difference, and a delivery method. The table below maps the common entry paths to what you will see during inspection.
| Entry path | How dust gets in | Inspection sign |
|---|---|---|
| Worn or hardened lip seal | The lip loses contact as the ring tilts under moment load, leaving a gap along part of the circumference | Cracked, flattened, or cut lip; dust packed behind the seal in one sector |
| Seal displaced or pinched at a joint | The seal section is damaged during installation or has shifted out of its groove | Visible gap, rolled seal, local grease leakage with dust streaks |
| Contaminated grease nozzle | Dust on the fitting is pushed in with new grease | Gritty grease in the first purge; dirty or missing fitting caps |
| Open gear lubricant on the pinion side | Gear grease picks up cargo dust and migrates toward the raceway seal | Dark, gritty paste at the gear mesh edge and the seal lip on the gear side |
| Flange or bolt interface | Dust works through poorly sealed mounting faces or open bolt holes | Fretting or dust deposits at the mounting face; dirt trails below bolt holes |
| Pressure washing | High pressure water forces dust and moisture past the seal lip | Milky or rust-tinted grease; corrosion near the seal |
Contamination wear versus normal wear
This is the call that matters. The same bearing can show worn raceways either way, but the pattern differs.
| Feature | Normal wear | Dust contamination |
|---|---|---|
| Grease condition | Smooth, with a fine metallic sheen at most | Gritty between your fingers; colored by the cargo (black for coal, red or brown for ore, pale for grain) |
| Raceway surface | Smooth, evenly polished track in the load zone | Circumferential scratches, dents, or a dull, lapped appearance, sometimes outside the main load zone |
| Wear distribution | Concentrated where the load concentrates, progressing gradually | Uneven, often worse near a damaged seal sector |
| Rotation feel | Gradual, uniform change | Rough or tight spots, stiffness that varies by angle |
| Clearance growth | Slow and steady | Faster than expected, especially after a sealing problem |
| Seal condition | Aged but intact | Cut, hardened, displaced, or packed with dust |
A caveat: a bearing running at high load or beyond its rated life will also show heavy wear. Contamination is likely when the wear pattern follows the seal damage rather than the load, and when grease samples are gritty.
Diagnosis Order: What to Check First
Work from the cheapest, least invasive check to the most invasive. Stop when you find a clear cause, but record every step so you can compare later.
- Inspect the seals externally, around the full circumference. Look for gaps, cuts, rolled sections, and dust packed behind the lip. A damaged seal in one sector is the most common cause of local wear. If seals look intact but hard and cracked, they have probably stopped sealing.
- Take a grease purge sample. Clean the fitting first, then purge a small amount and rub it between clean fingers or on a white card. Grit, cargo color, or water points to ingress. Clean grease with only fine dark tint points to normal aging, so move to step 3. Note that a clean sample from one fitting does not clear the other sectors.
- Rotate the loader slowly and feel for torque changes. If drive current or effort rises at specific angles, that sector deserves a teardown look. Smooth torque with high clearance points more toward load and age.
- Measure tilt clearance against your baseline. Use the reading recorded at installation or from the manufacturer's data. If you have no baseline, start one now. A sudden jump suggests accelerated wear, while a slow trend suggests normal wear.
- Inspect the gear mesh and lubricant. Gritty gear grease means the pinion side is feeding dust toward the seal. Pitting on the teeth with sandy lubricant is a sign of abrasive conditions.
- Check the mounting interface and bolts. Dust trails, fretting, or loose bolts can mimic bearing failure and also open a path for contamination.
- Inspect raceways during teardown or replacement. Compare the track pattern to the table above. Circumferential scoring and dents mean abrasive damage. A smooth load zone with gradual wear means normal fatigue.
Prevention Options and Where They Fit
No one measure suits every terminal. Here is how common options compare.
| Measure | Best for | Limits |
|---|---|---|
| Scheduled seal inspection and replacement | Any loader; cheapest first step | Only works if the replacement seal is the right profile and fitted without damage |
| Dust shield or labyrinth cover over the seal | Open berths with heavy coal or ore dust | Needs space around the ring; can trap dust if not cleaned |
| Clean purge greasing with capped fittings | Sites where grease habits are inconsistent | Does not help if the seal is already failed |
| Condition based grease schedule | Sites with variable cargo and weather | Needs a trained person to sample and judge |
| Gear lubricant control and guards | Loaders with exposed pinion gear | Guards add maintenance access work |
| Washdown rules (low pressure, away from seals) | Terminals that wash equipment regularly | Needs discipline from every shift |
Follow your bearing supplier's lubricant and relubrication guidance for grease type and interval. Where cargo changes seasonally, tighten the inspection interval rather than extending it.
Common Mistakes That Let Dust In
- Greasing without wiping the fitting. Dust on the nozzle becomes part of the lubricant.
- Replacing the bearing but reusing a worn seal groove or gear grease. The new bearing inherits the old contamination path.
- Aiming a pressure washer at the seal. Water and dust are pushed past the lip together.
- Skipping a baseline measurement. Without a starting clearance, you cannot tell fast wear from slow wear.
- Blaming the steel. Heavy wear is often assumed to be a material problem, when a seal or lubrication problem is the cause.
Illustrative Example: Reading the Evidence
This is a hypothetical scenario, not a customer case. A coal terminal loader shows rising slewing effort in one quadrant. The grease purge from the nearest fitting is black and gritty. The seal in that quadrant has a rolled section with dust packed behind it. Tilt clearance has grown faster than at the previous check.
Reading: contamination, entering through the displaced seal, is the leading cause. Action: replace the seal, purge until clean grease emerges, remeasure clearance, and shorten the inspection interval. If clearance is beyond the allowable limit or the raceway shows scoring, plan a replacement and review the sealing design. If grease is clean and clearance grew steadily, the cause is more likely age or load, so check the duty cycle against the bearing's rating.
Specifying a Replacement That Resists Dust
When wear is confirmed as contamination related, the replacement should address the entry path, not just repeat the old part. Use the bearing selection guide as a starting reference, then confirm these points for your Ship Loader Slewing Bearing:
- Seal type and profile, and whether the design can accept a dust shield or added cover
- Gear type and location, including whether the slewing ring gear faces the dustiest side
- Grease fitting position and accessibility for clean purging
- Mounting interface and flange sealing
- Duty cycle, moment load, and cargo type, so the bearing is not undersized
- Installation method, since seal damage during fitting is a frequent cause of early ingress; see our notes on bearing installation
Some loaders need dimensions or sealing arrangements outside catalog ranges. In that case, non-standard bearings built to your drawings can be the practical route. If you are comparing alternatives, a precision slewing bearing matched to your working conditions is a better starting point than an off-the-shelf match by size alone.
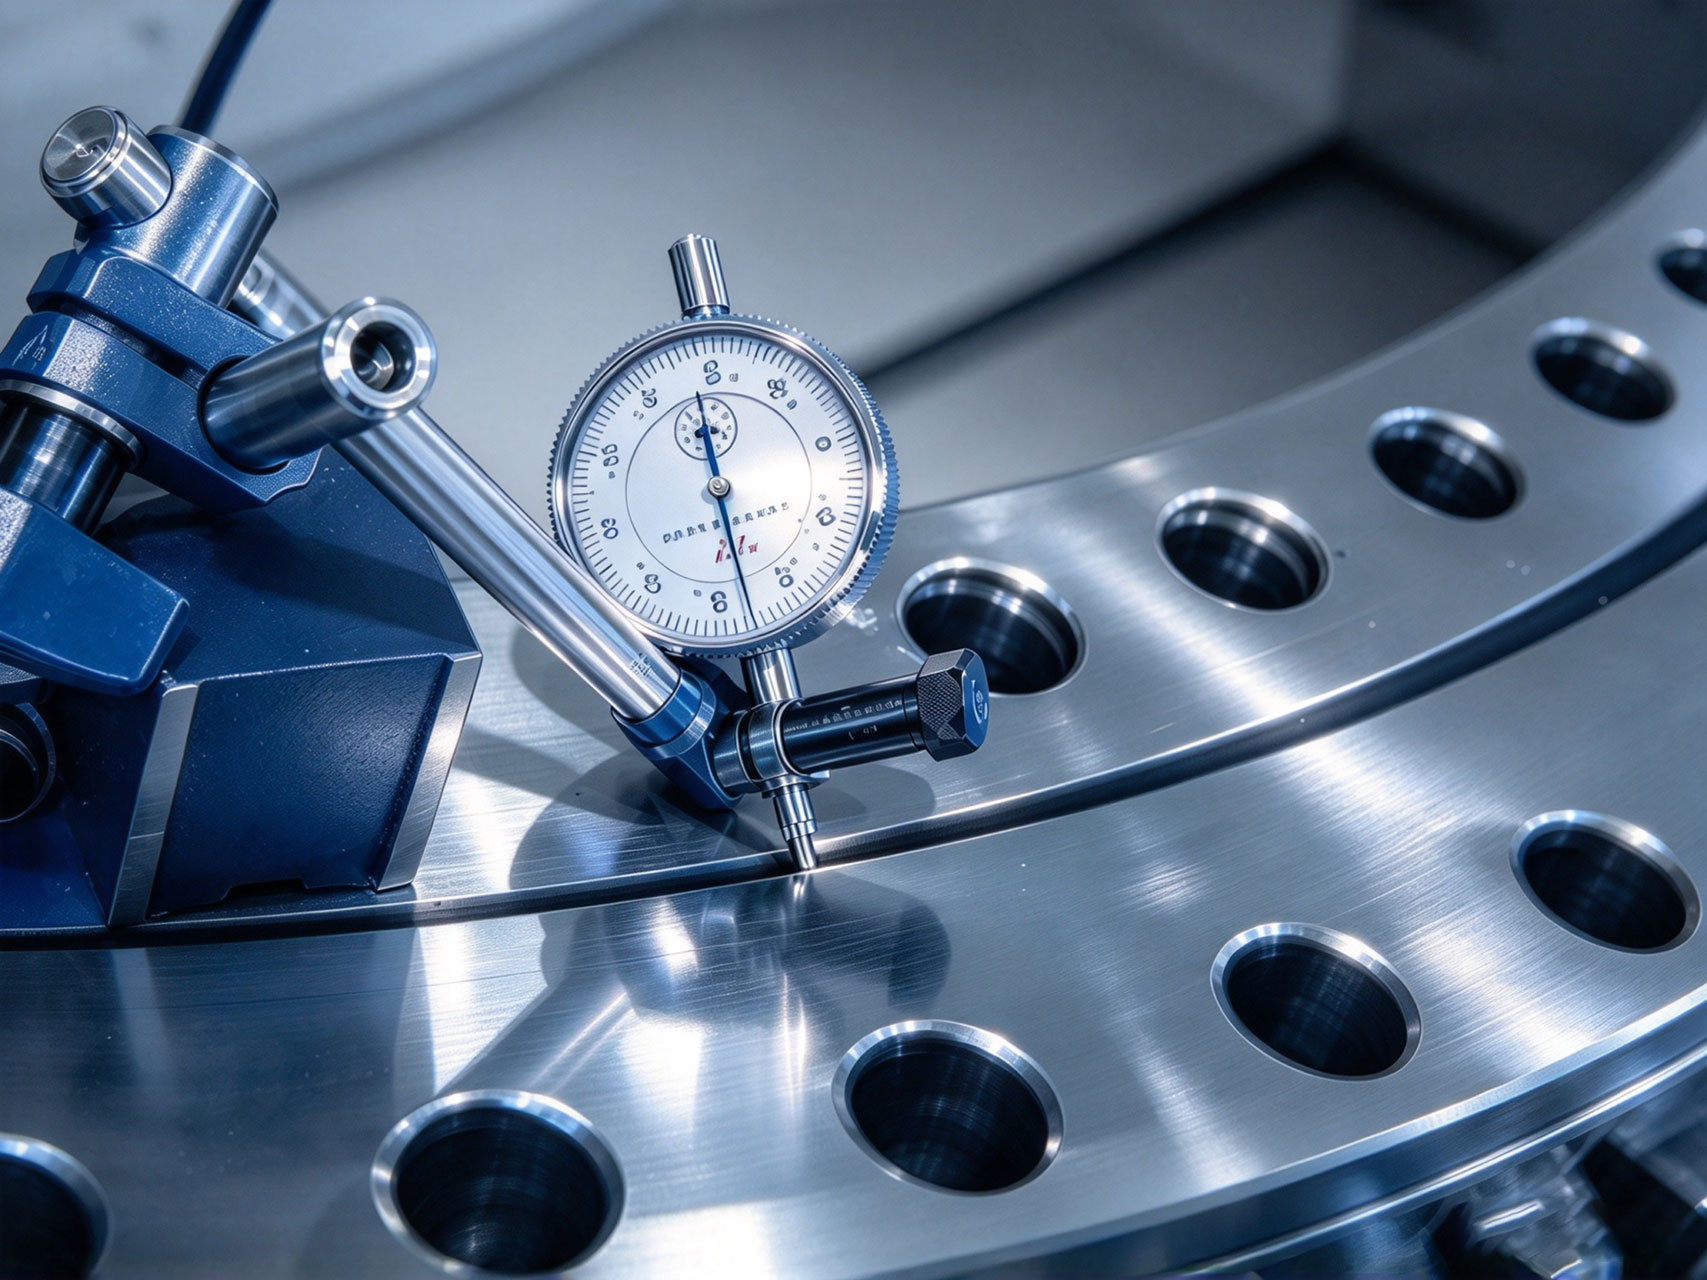
What LTZC can support
LTZC Bearings Co.,Ltd. operates under ISO9001:2015, ISO14001:2015, and ISO45001:2018 systems, with certification by ISO, CCS, and ABS. We build bearings to your working conditions, existing designs, and technical specifications, including specific materials, sizes, or performance requirements. There is no minimum order quantity, so a single replacement unit is acceptable, and delivery runs 30 to 90 days depending on the specification. Our engineering team, with ten years of slewing bearing sales and after-sales work behind it, can also review your inspection findings before you commit to a design. Where the drive is part of the problem, we also supply slewing drives.
Buyer's Checklist Before You Order
- Record the inspection findings: grease condition, seal condition, clearance trend, and raceway pattern.
- Identify the likely entry path from the table above.
- Gather the existing drawing or nameplate data, load case, and cargo type.
- Decide whether a standard design with added shielding is enough, or whether a modified design is needed.
- Confirm delivery time against your next maintenance window.
- Agree on the baseline clearance and installation method for the new bearing.
If you want a second opinion on a failed bearing, send your drawings, photos of the seal and raceway, and cargo details to LTZC, and our engineers will give selection advice or a quote.