WhatsApp
 jessica.chai@ltzzc.com
 0086-379-69950051

Preventing Factory Downtime When Industrial Slewing Bearings Face Contamination
Why does a slewing bearing that ran cleanly at commissioning start to fail within a season, and why does the replacement fail the same way? In most repeat cases the cause is not the bearing steel. It is what gets into the raceway, or what is already sitting in the grease. Industrial slewing bearings carry heavy tilting loads on a few rows of rolling elements, so a small amount of grit, water or degraded lubricant can turn into raceway damage and then into an unplanned stoppage.
This article separates the three contamination routes, shows what each one looks like before the line stops, and gives a diagnosis order you can follow on the floor. I have spent ten years in slewing bearing, slew drive and thin section bearing sales and after-sales support, and the pattern is consistent: teams that identify the route early fix the right thing, and teams that treat every symptom as "needs more grease" repeat the failure.
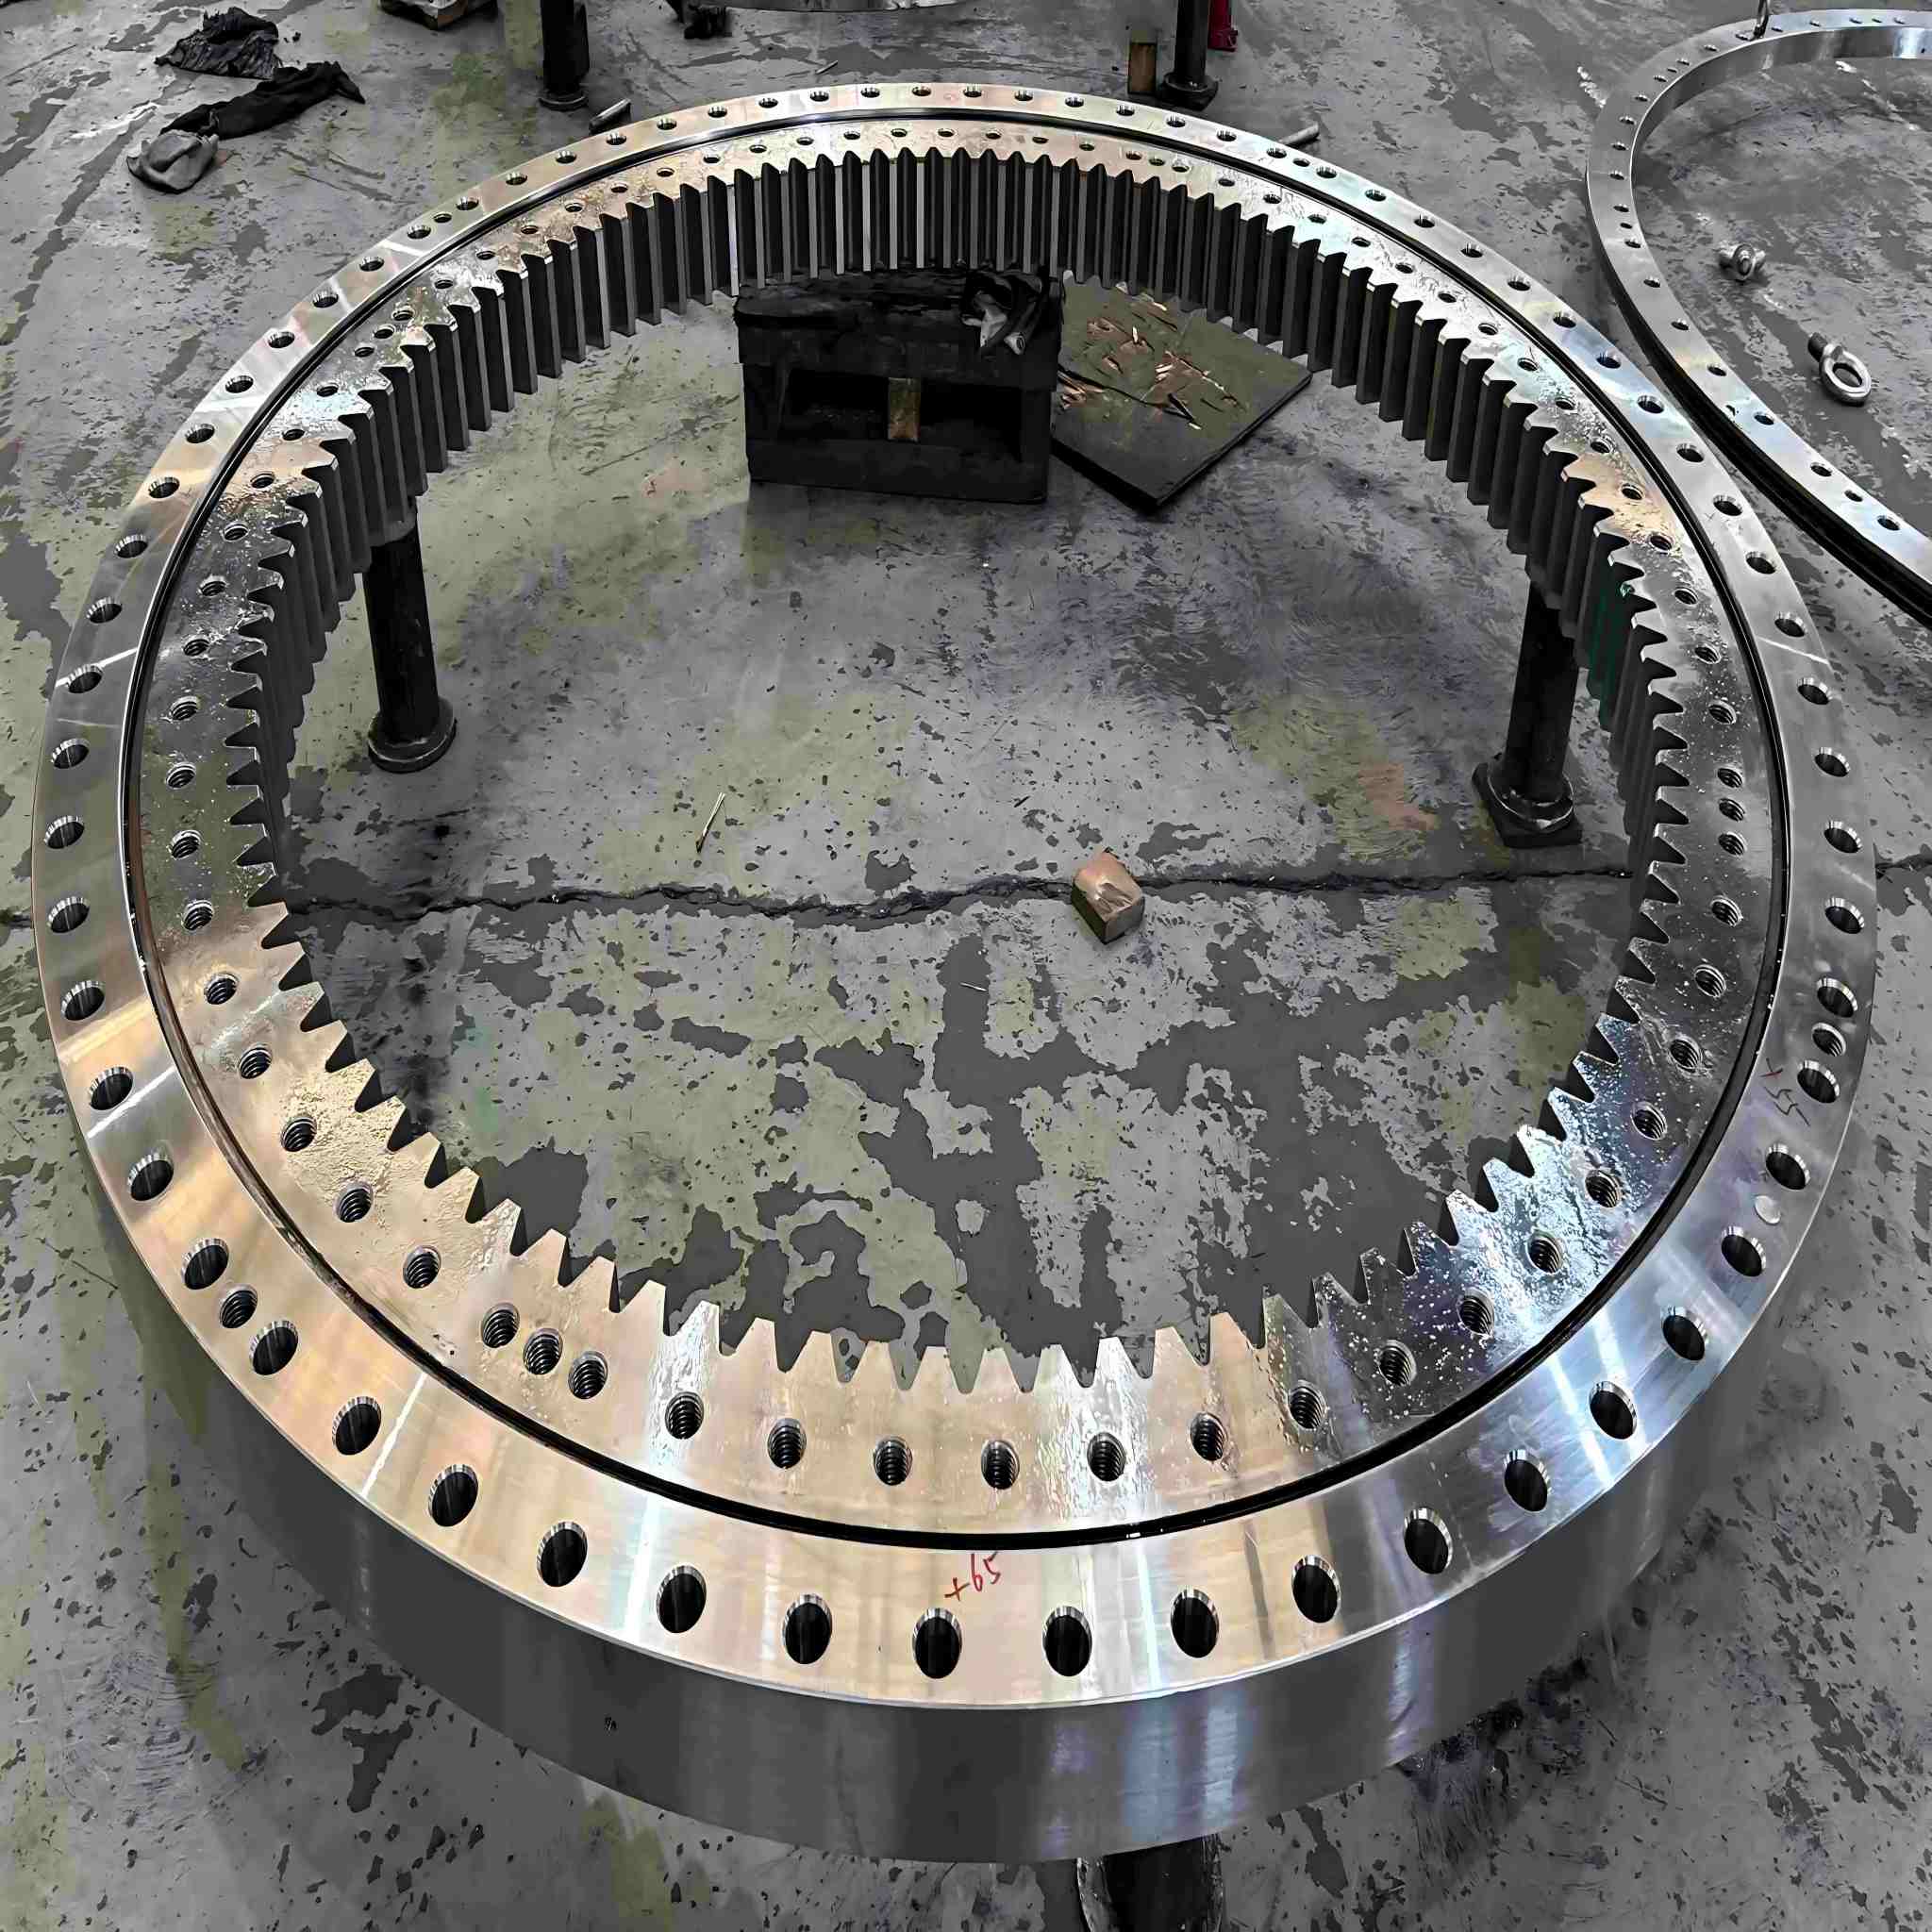
Why Contamination Failures Repeat in Production Plants
Repeat failures usually come from a diagnosis stopping at the visible symptom. A noisy bearing gets regreased, the noise fades for a few days, and the damaged raceway keeps wearing underneath. Three habits keep the cycle going:
Replacing without inspecting the old part. The failed bearing is the best evidence of how contamination arrived. Scrapping it unexamined loses that information.
Treating the seal as a consumable nobody checks. Slewing bearing seals sit exposed at the ring gap and are damaged by cleaning tools, welding spatter and mounting errors.
Using one greasing routine for every site. A dry dusty area, a wet area and a high-pressure washdown area need different routines.
Contamination does not always produce a sudden break. It shortens life through gradual raceway wear, so the warning signs appear in torque, backlash, noise and grease condition first. That is the window to act in.
How Seal Ingress, Lubricant Contamination and Washdown Exposure Create Different Failure Symptoms
The three routes look similar late in life, when the raceway is damaged and the bearing is rough. Early on, they leave different signatures. The table below is built for a maintenance manager who needs to decide what to check first.
| Contamination route | Early symptom | What it usually points to | Check first | Does NOT apply when |
|---|---|---|---|---|
| Seal ingress (dust, chips, process debris) | Gritty or dark grease at the seal; torque rising unevenly through rotation; seal lip cut or flattened | Abrasive particles entering at the ring gap and wearing the raceway | Seal lip condition and the grease purged at the gap | Seals are intact and grease is clean; look at lubricant or load instead |
| Lubricant contamination (internal or from servicing) | Hardened, separated or discoloured grease; stick-slip rotation; noise that changes after greasing | Mixed incompatible greases, dirty grease guns or fittings, over-greasing, or degraded grease | Grease records, grease type, fitting cleanliness | Grease is fresh and clean but water or dirt is visible at the seal |
| Washdown exposure (water, detergent, steam) | Milky or whitish grease; rust at the ring edges or bolt holes; corrosion marks in the raceway after a stop | Water driven past the seal and emulsifying the grease, or chemicals attacking seal material | Grease colour at the purge point, rust on exposed surfaces, cleaning schedule and spray direction | The area is never washed and the grease is dry or gritty |
Two points deserve emphasis. Washdown damage often shows up after downtime, because water sits in a stationary bearing and corrodes the raceway between shifts. Seal ingress, by contrast, tends to show up while the machine is running, as torque and noise change. If failures cluster after weekend shutdowns, suspect water first.
Diagnosis order with judgment criteria
Look at the seal and the purged grease. Grit and dark streaks point to seal ingress. Milky grease points to water. Clean grease points away from both.
Check the grease record. If more than one grease type has been used, or if greasing intervals are irregular, lubricant contamination moves to the top of the list.
Turn the bearing by hand or log drive current. Rough, uneven resistance in one sector suggests local raceway damage from a debris path. Uniform resistance rise points to lubricant condition.
Measure backlash or tilt clearance against the baseline. A growing figure means raceway wear is already in progress and the replacement window is open.
Review the environment. Where does cleaning spray hit? Where does debris fall? A bearing mounted under a chute or beside a wash lance is a design problem, not a maintenance problem.
Stop at the first step that gives a clear answer, fix that route, and recheck at the next scheduled inspection. If steps one to three disagree, the bearing is likely suffering more than one route, which is common in washdown plants with poor greasing discipline.
Common Mistakes That Turn Contamination Into Downtime
Over-greasing to "flush" contaminants. This can push debris deeper and damage seals. It fits only when the manufacturer specifies a purge procedure and the seal design allows it.
Pressure washing directly at the seal gap. Water is forced past lips designed to resist splash, not jets. Redirect spray or add a shield.
Mixing greases for convenience. Incompatible thickeners can soften or harden the lubricant. Confirm compatibility before changing grease type.
Ignoring bolt and flange condition. Loose or corroded fasteners let the ring distort, which opens the seal gap and invites contamination. This is often mistaken for a bearing defect.
Skipping post-failure inspection. Without examining the raceway and seal, you cannot say which route failed, and the next unit goes in unprotected.
Building a Bearing Maintenance Plan Around the Contamination Route
Once you know the dominant route, match the countermeasure to it. The table compares common options and where each one stops being enough.
| Route | Practical countermeasure | Why it works | Limit |
|---|---|---|---|
| Seal ingress | Add deflector shields or covers; inspect seals at each scheduled stop; replace damaged seals promptly | Reduces the amount of debris reaching the gap | Not enough in heavy abrasive dust unless the seal material and design suit it |
| Lubricant contamination | Standardise on one grease; label fittings and grease guns; log each greasing event | Prevents mixing and dirt introduced during service | Does not help if the grease is wrong for the temperature or load |
| Washdown exposure | Redirect spray away from the gap; use corrosion-resistant surface treatment where suitable; relubricate after washing | Replaces water-laden grease and limits corrosion in idle periods | Standard seals may still fail under repeated high-pressure cleaning |
When the countermeasures above are not enough, the answer may be a different bearing configuration, not more maintenance. LTZC provides customized bearing solutions based on working conditions, existing designs and technical specifications, including specific materials, sizes and performance requirements. For an unusual mounting or sealing need, our non-standard bearings range is where that discussion begins.
Contamination also affects the parts that work with the bearing. If your ring uses an integral gear, the same grit that wears the raceway will wear the teeth, so inspect the slewing ring gear during the same stop. Where an enclosed drive is a practical option, a housed unit such as our Slewing Drives can reduce exposure, though you still need to confirm the enclosure suits your cleaning method.

Step by Step Inspection at a Scheduled Stop
Clean the area around the seal and grease fittings before opening anything.
Photograph the seal and any grease at the gap for later comparison.
Take a small grease sample from the purge point. Note colour, texture and any grit.
Rotate the bearing slowly through a full turn and record any rough sector.
Check bolt torque and look for rust at flange and bolt holes.
Relubricate with the specified grease only, then record the date, type and quantity.
This takes little time and builds a baseline. Over several stops, a trend in torque or grease condition tells you when to plan a replacement instead of reacting to a breakdown. If the bearing is being replaced, follow proper bearing installation practice so new seals are not damaged at fitting.
What to Prepare Before Specifying a Replacement
If inspection shows the bearing cannot be saved, use the failure as input to the next specification. A like-for-like replacement repeats the failure if the environment caused it. A buyer's checklist:
Which contamination route did the inspection point to, with photos?
Existing drawings or the old bearing's markings and mounting dimensions.
Working conditions: load type, rotation speed, temperature, cleaning method and chemicals.
Any requirement for specific materials, sealing or surface treatment.
Target delivery date, and whether a spare should be ordered for the next stop.
On our side, LTZC operates under ISO9001:2015 quality management, with ISO14001:2015 and ISO45001:2018 certification, and holds certification from ISO, CCS and ABS. Delivery is typically 30 to 90 days and there is no MOQ, so a single replacement or a trial unit is a reasonable request. For standard needs, our precision slewing bearing range is the starting point, and where space is tight, a thin section bearing may fit. If you are comparing types, the bearing selection guide sets out the parameters to compare.
Lead time matters here. A 30 to 90 day window means the replacement should be specified when inspection first shows rising torque or backlash, not after the line stops.
If you are chasing repeat failures with your industrial slewing bearings, send us your drawings, photos of the failed seal and grease, and your cleaning conditions. We will review them and offer selection advice.